CoolNT
Guest
Hi folks,
Please note: if you have slow internet, this may take a while to load.
This is for informational purposes and to help with any ambiguity with this kit and for those contemplating on installing this kit.
Documents attached for this installation include:
Admores original installation manual
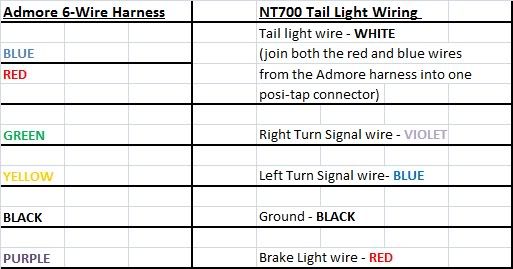
A table of Admore to NT wire colors** I created for this installation (**The wire colors on the NT seem to vary by possibly build dates so keep that in mind. Your best bet is to use a test light).
You tube video of light funtion:
[video=youtube;F75iXet_4WA]http://www.youtube.com/watch?v=F75iXet_4WA[/video]
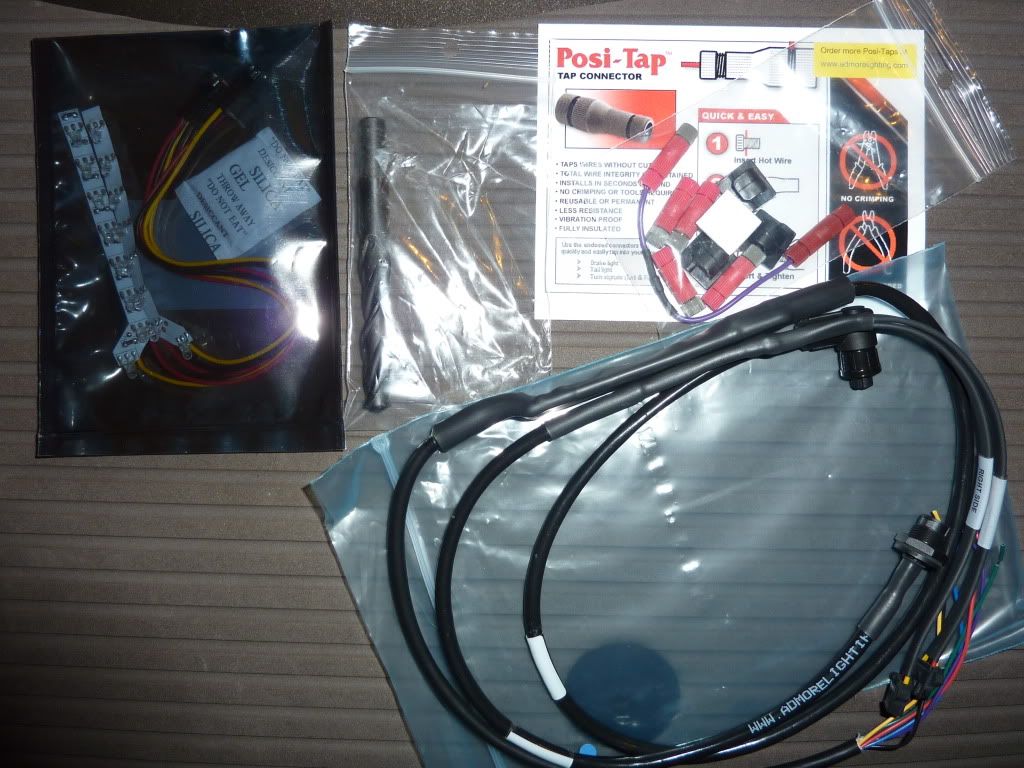
1. Picture of the Admore LED light kit – ADML-0210-LED55-T-TS – for the Givi e55 top case
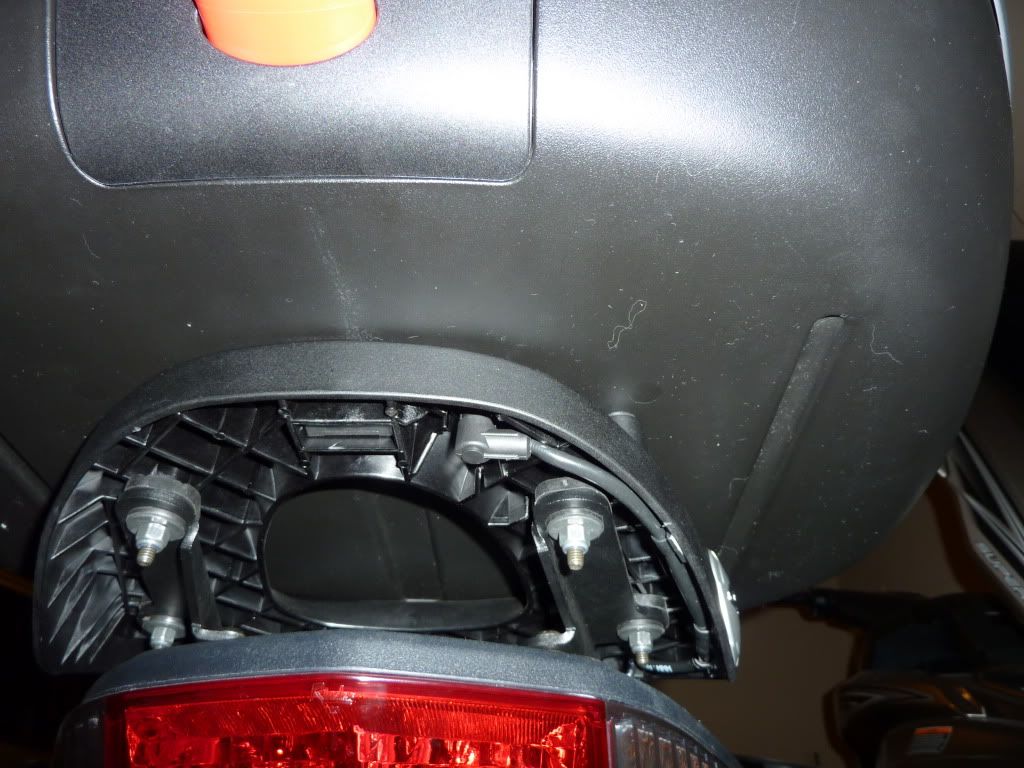
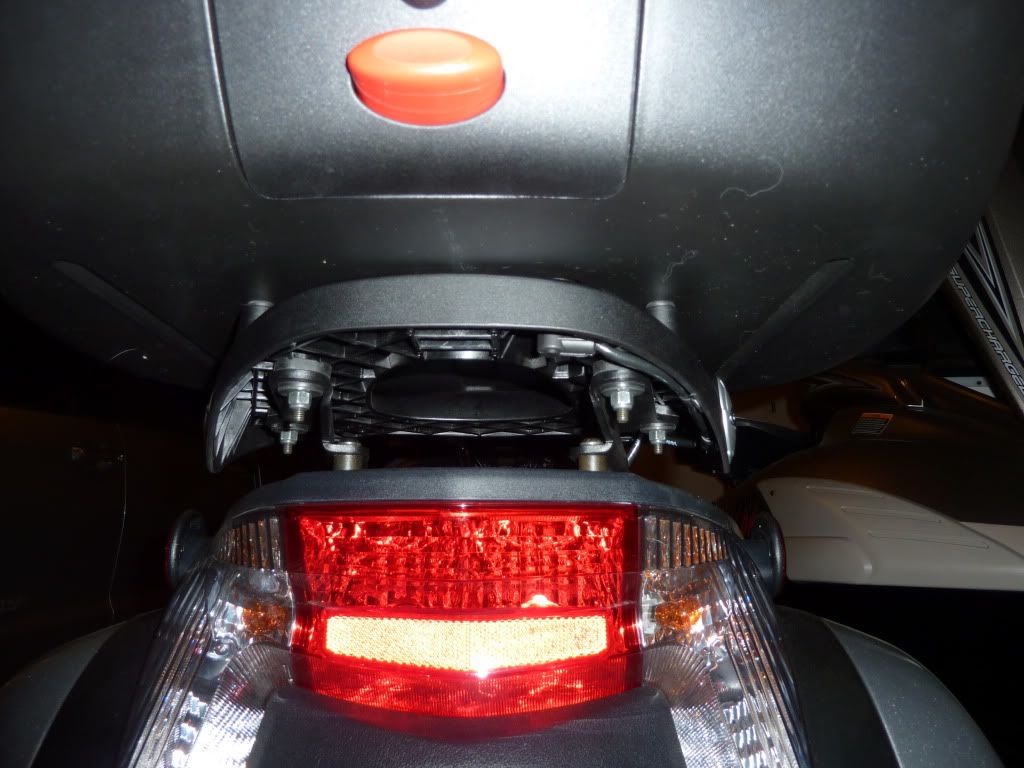
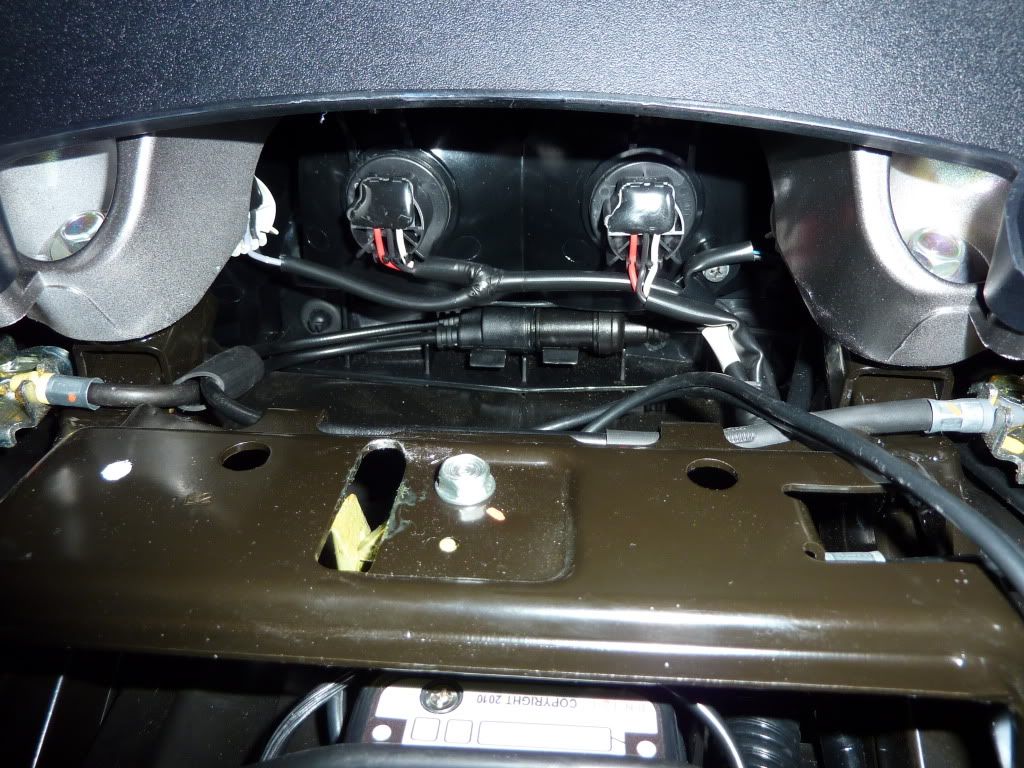
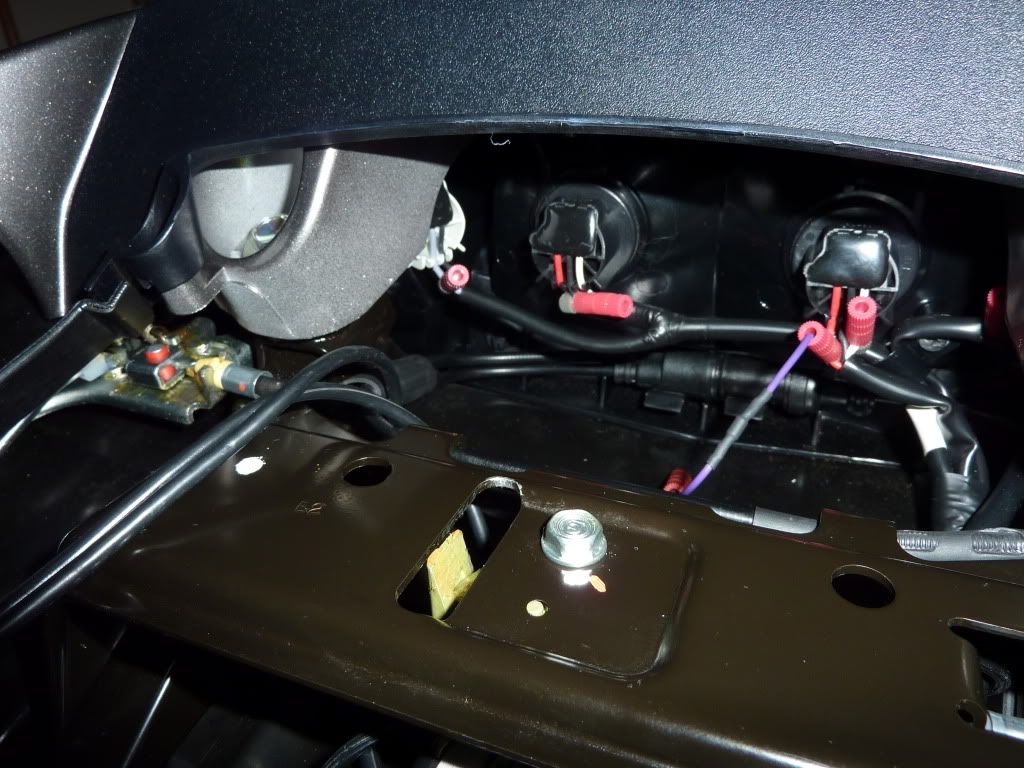
2. This is the NT tail light area behind the seat
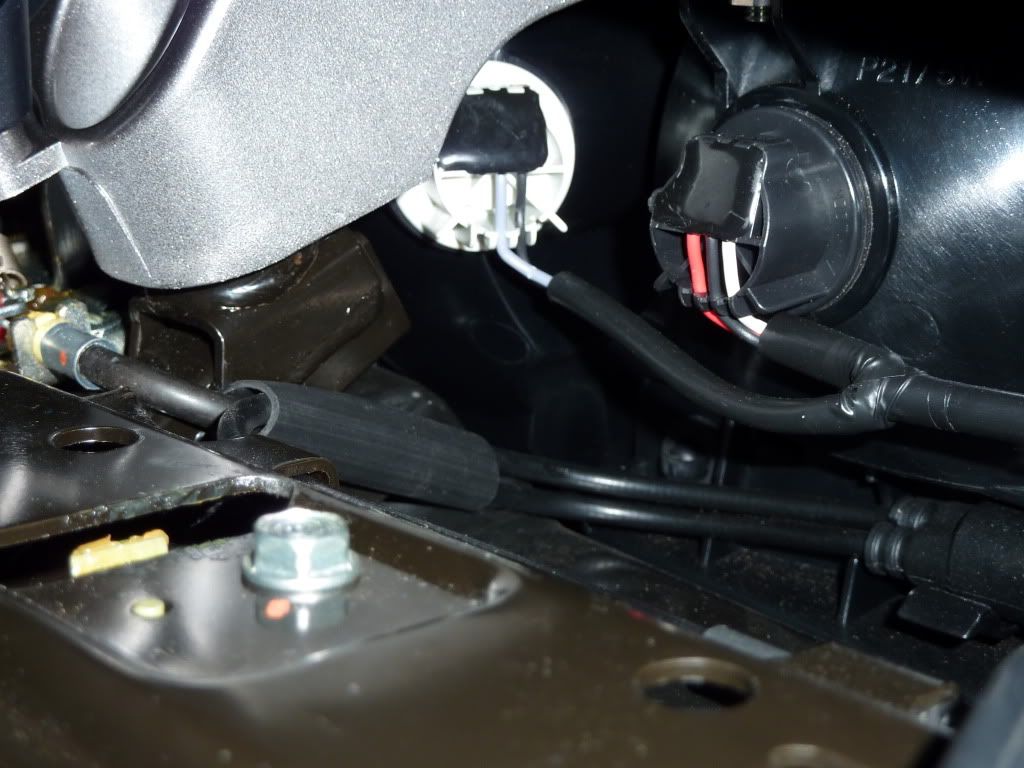
3. NT tail light area specifically the right turn signal area
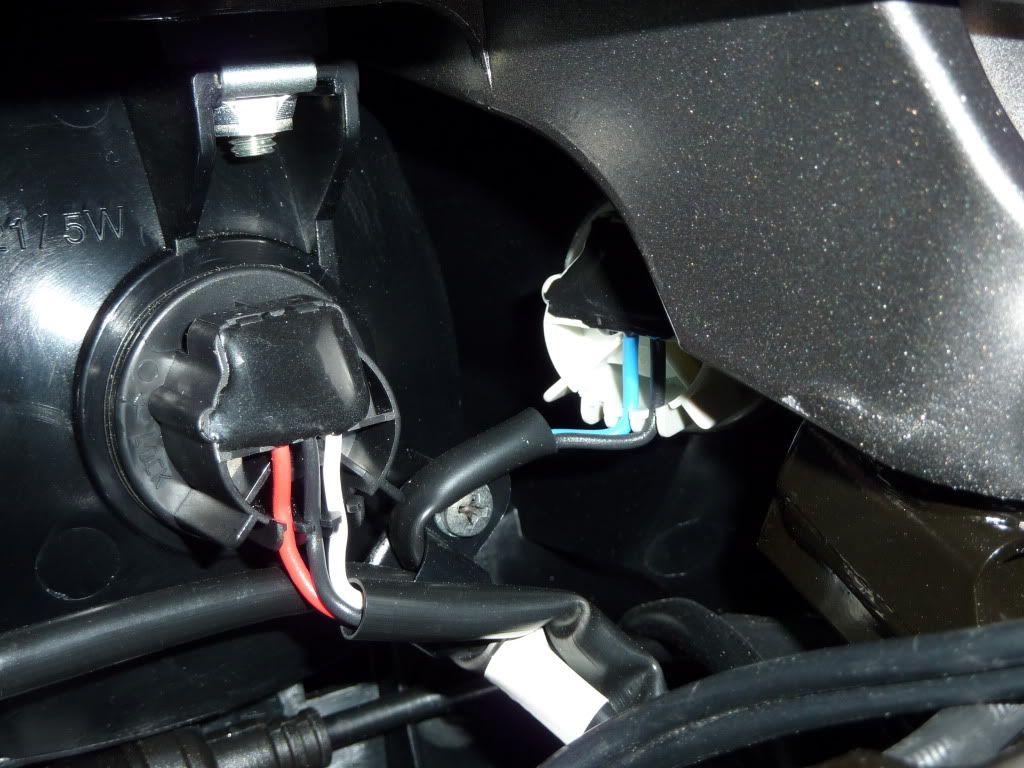
4. NT tail light area specifically the left turn signal area
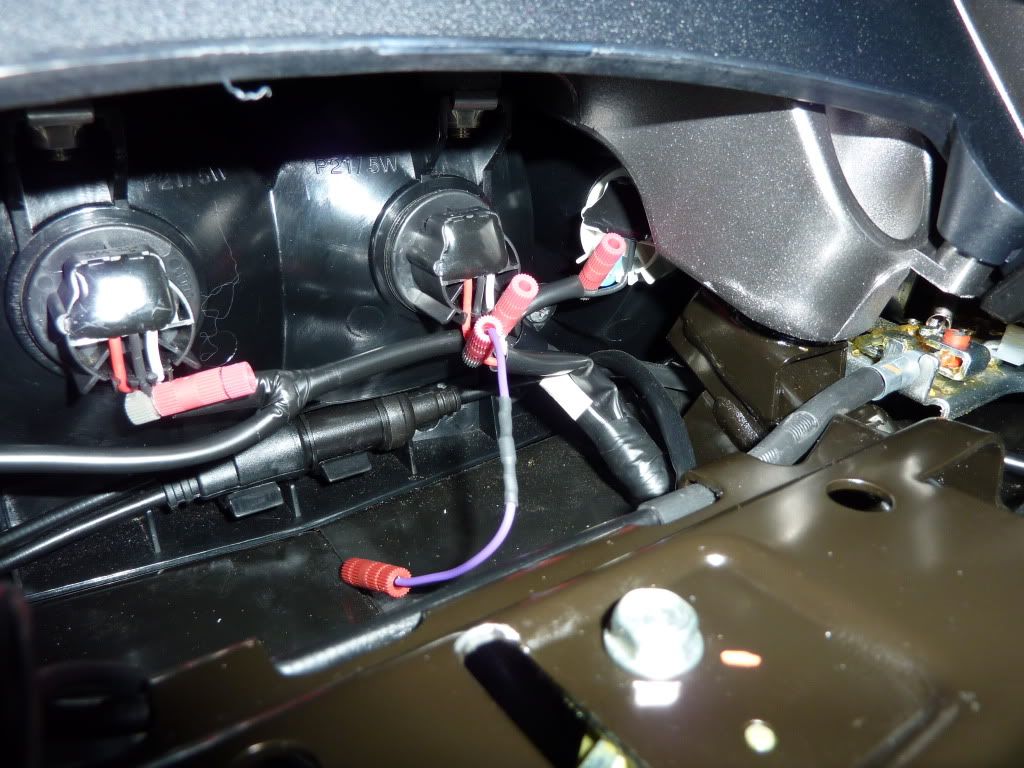
5. Posi-taps installed to the appropriate NT wiring
6. Close-up of posi-taps connected to NT tail/turn wiring
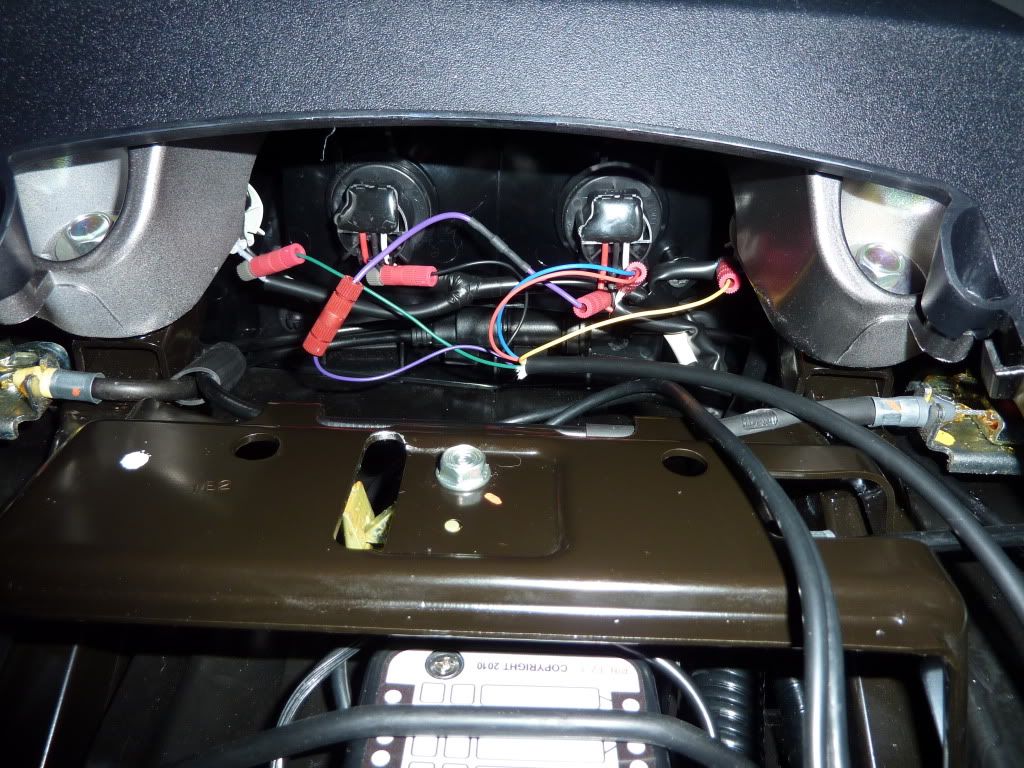
7. LED function check
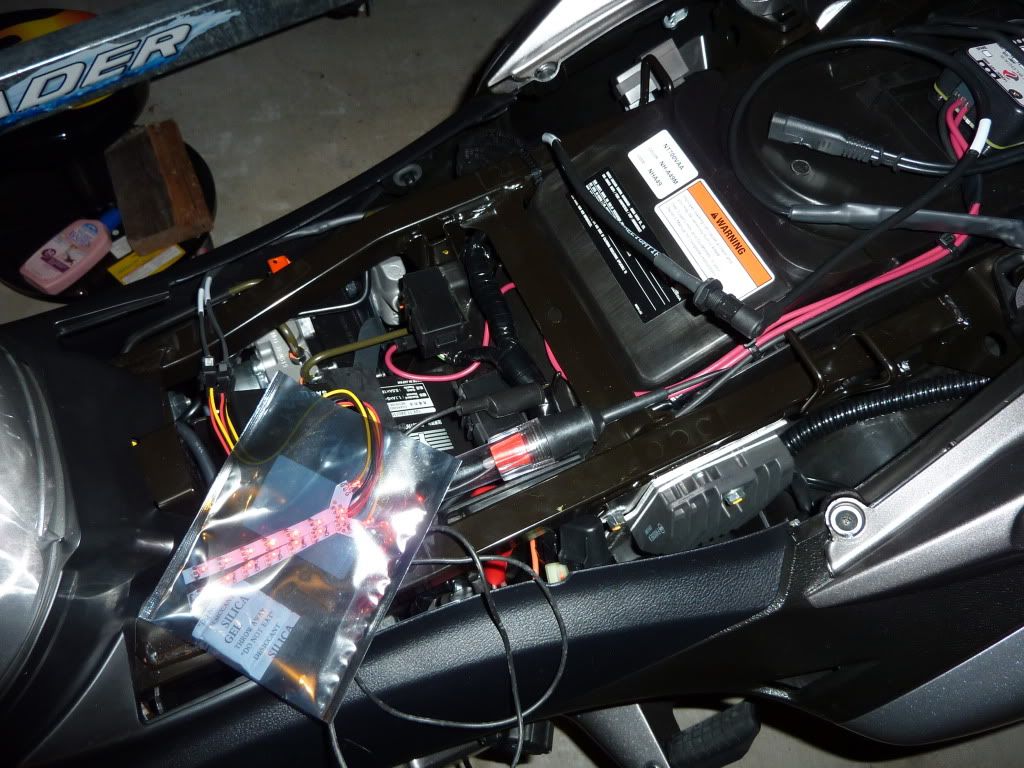
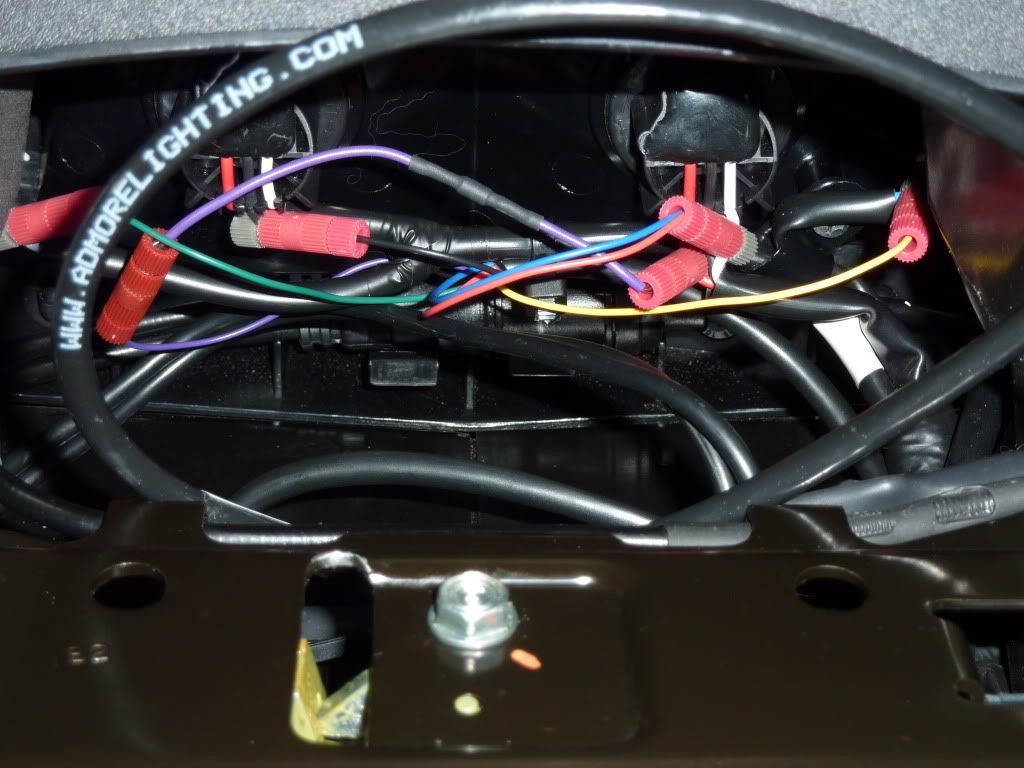
8. Admore LED harness attached to bike and posi-taps
9. Admore LED harness attached to bike and posi-taps close-up
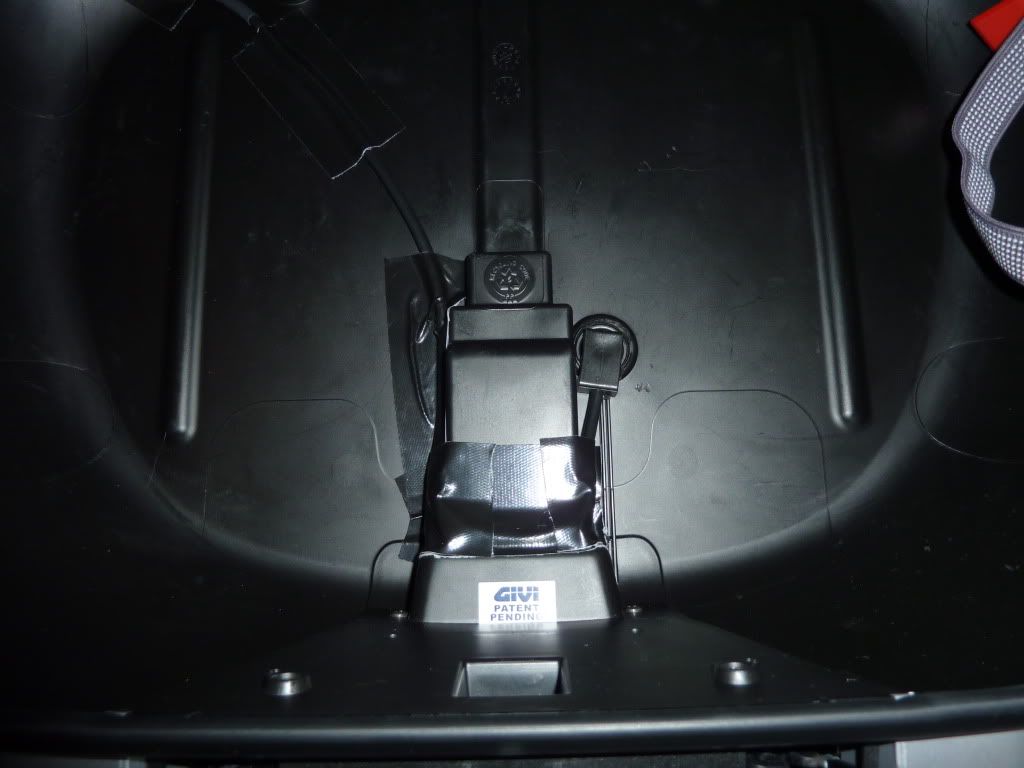
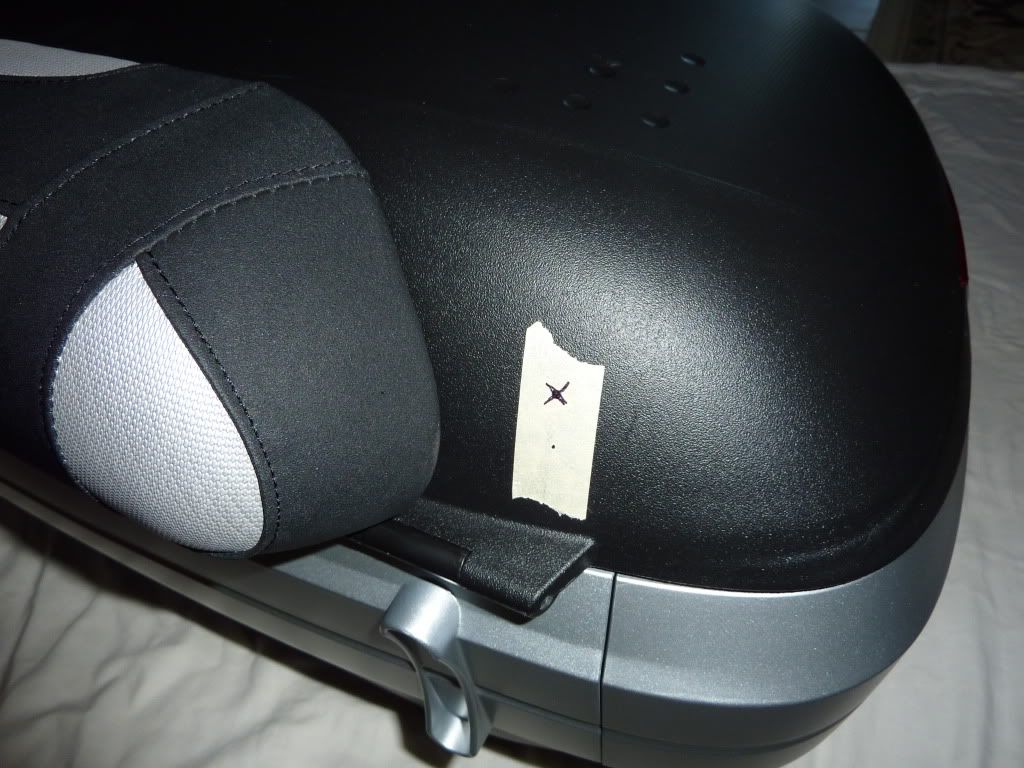
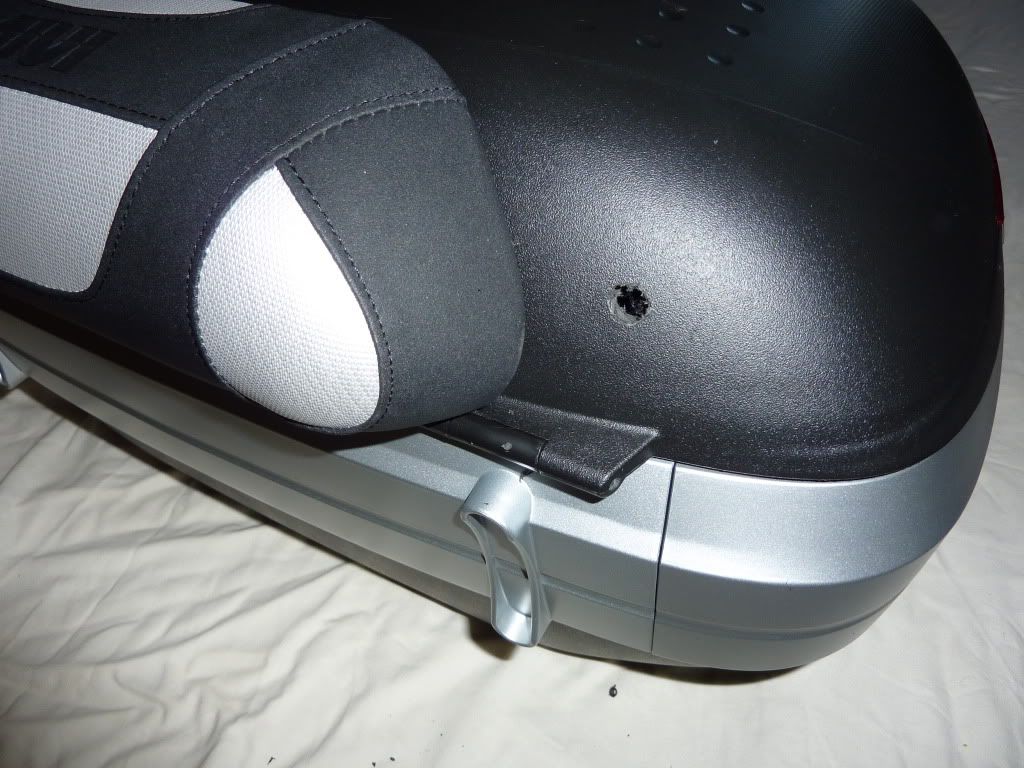
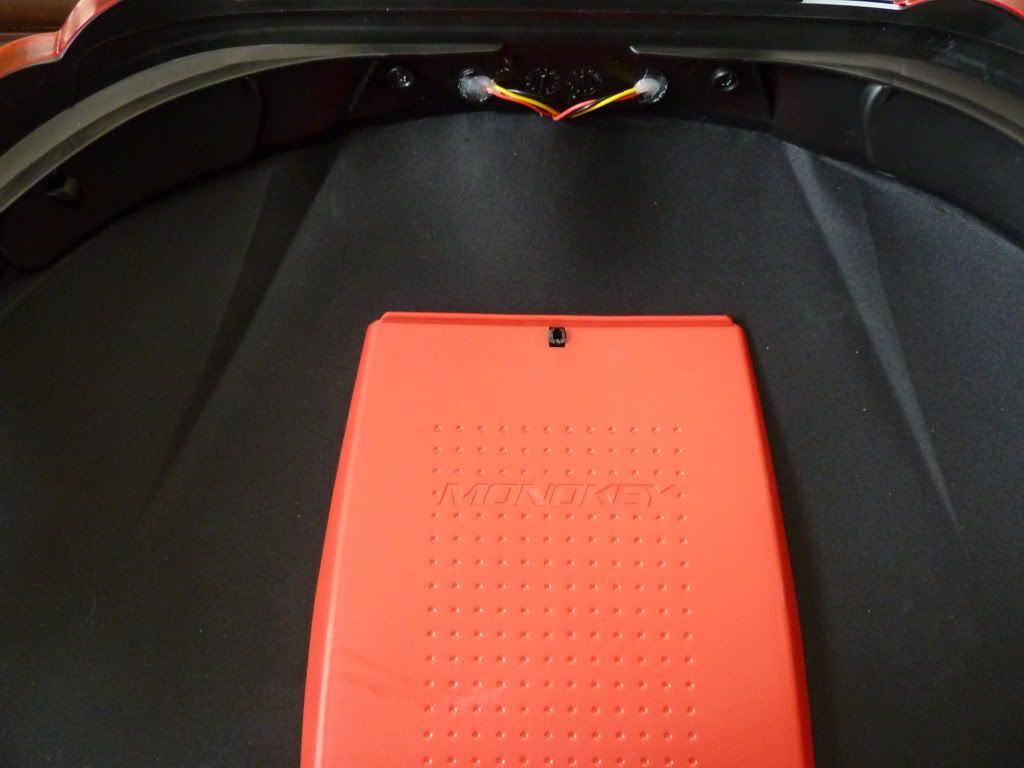
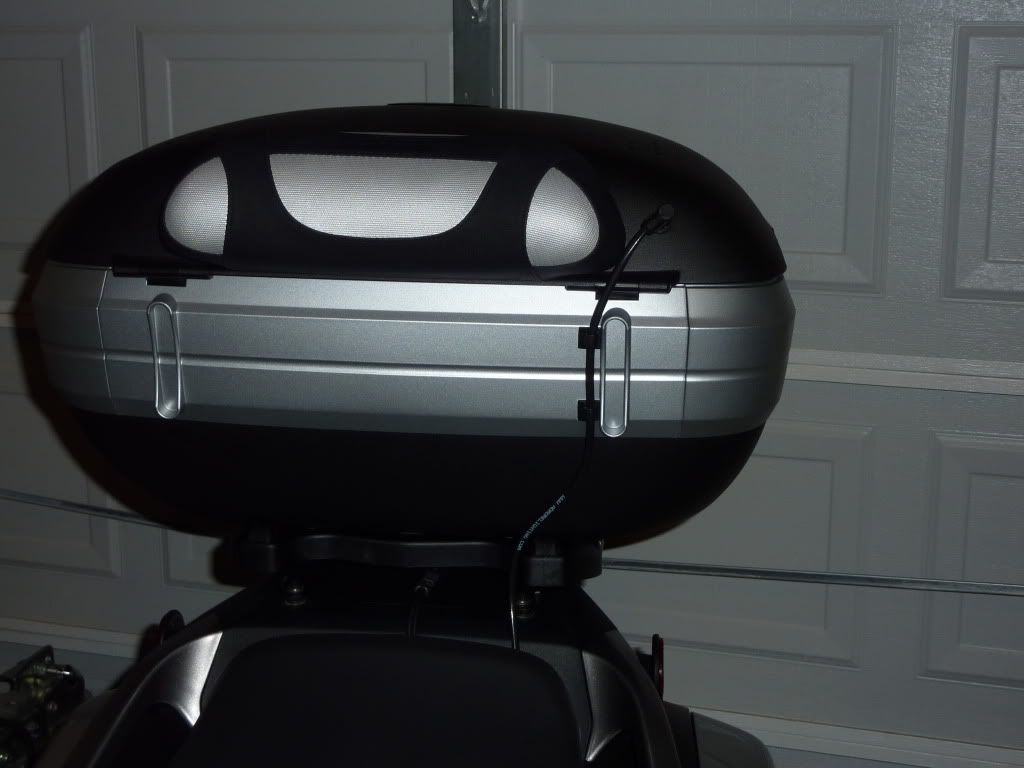
10. Admore suggested the best location to drill the case for bike connection is here. I chose to go with this location since the Admore connector from the inside of the case sticks out (above the surface by at least an inch and half and didn’t want it to get in the way of luggage, helmets, etc. These situations can shorten the life of the connector if in the way. Also, it lends itself to a cleaner install from the inside of the case. Also, on the exterior of the case for the outside connector, I didn’t want it to poke a passenger in the back as it sticks up about an inch.
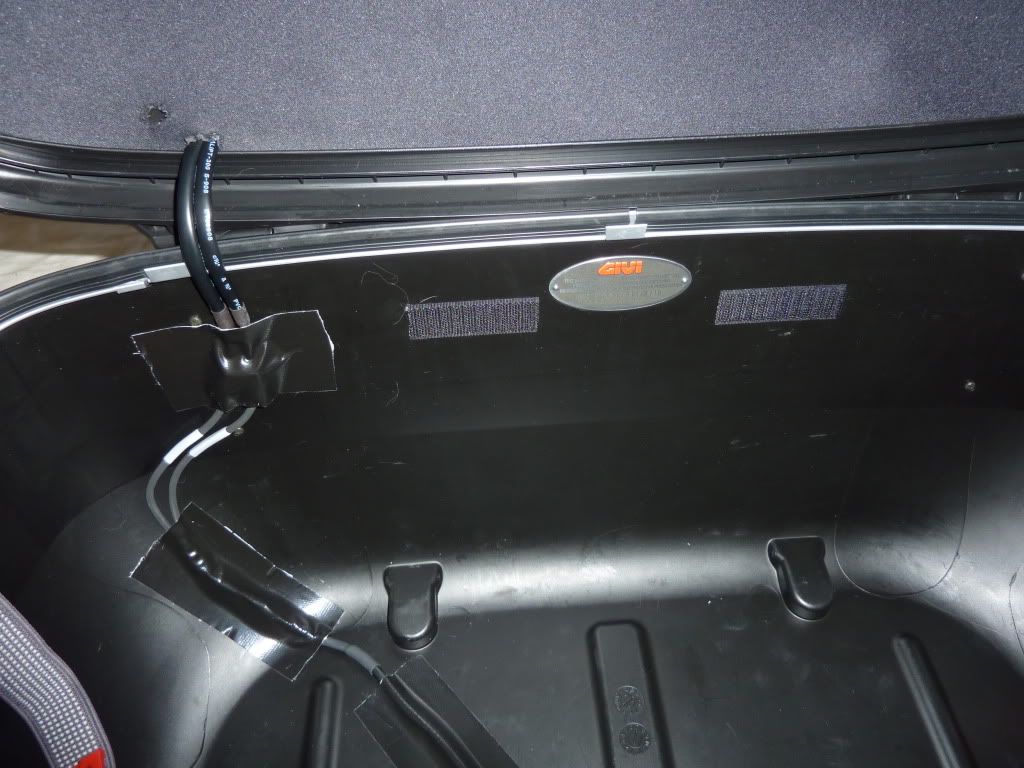
11. Keep in mind, I also have the Givi top case liner for the bottom and top. Therefore, it sort of limits wire runs but also keeps everything clean.
12. I used a pilot hole drill (1/8” drill) and then drilled the 7/16” hole with the Admore supplied drill bit.
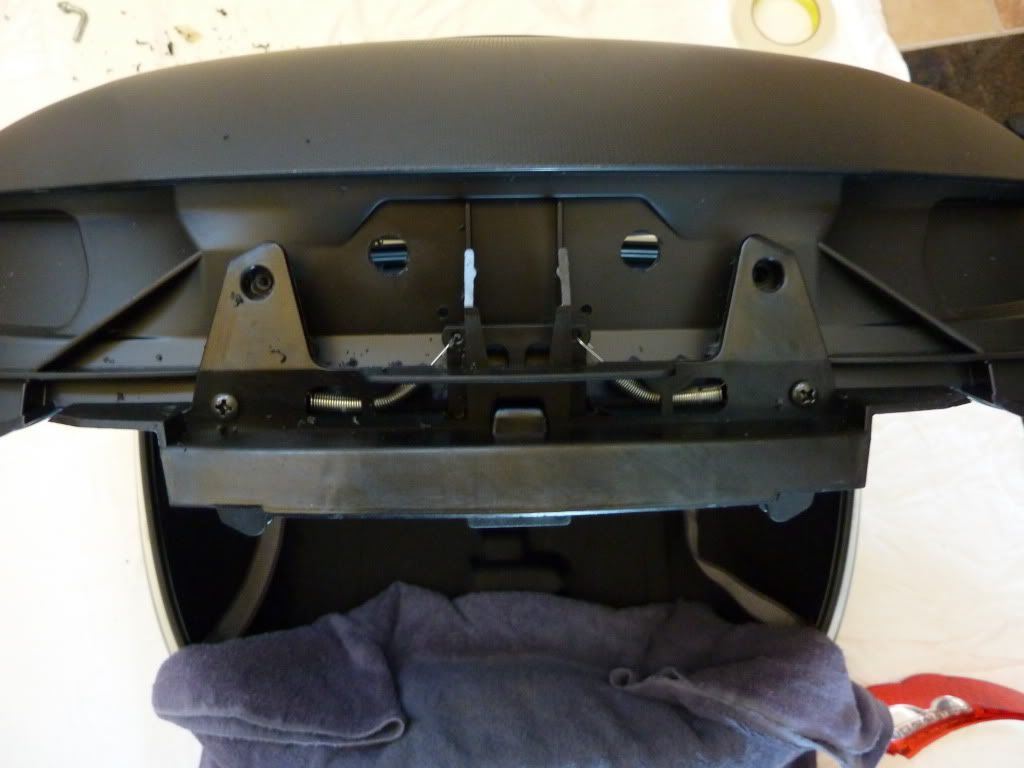
13. The document holder will need to be removed with or w/o the liner for this install.
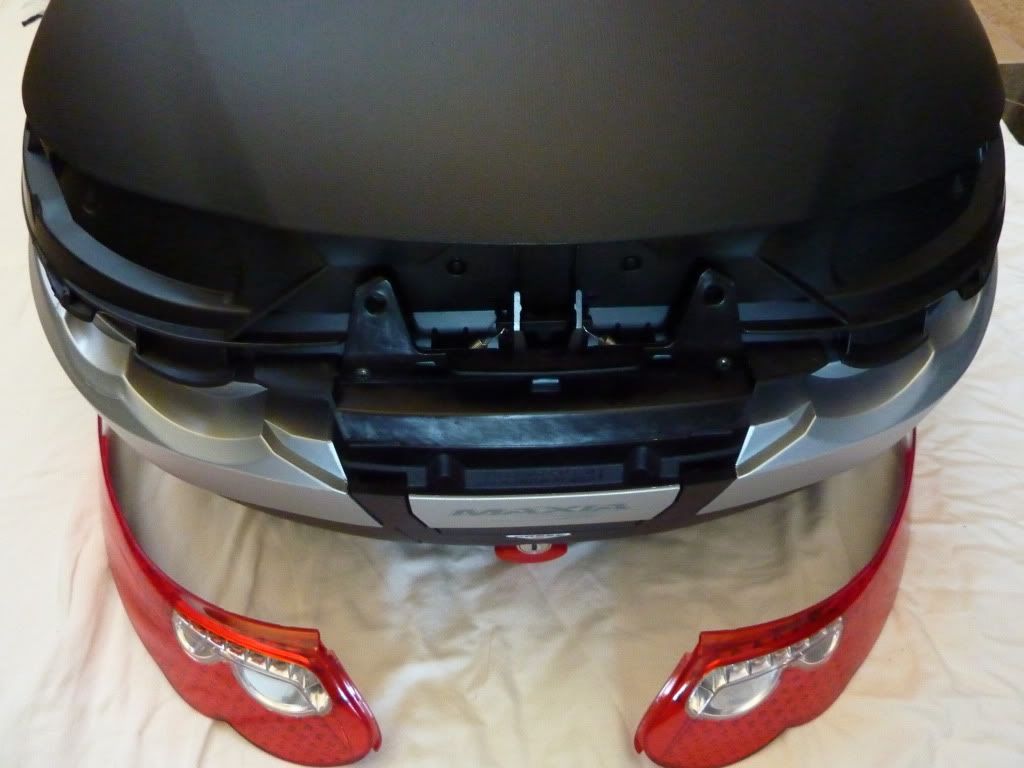
14. Top case light lenses removed.
15. Holes punched (using a smaller drill bit) and then drilled out with supplied 7/16” bit.
16. Admore LED light kit installed in the left lens
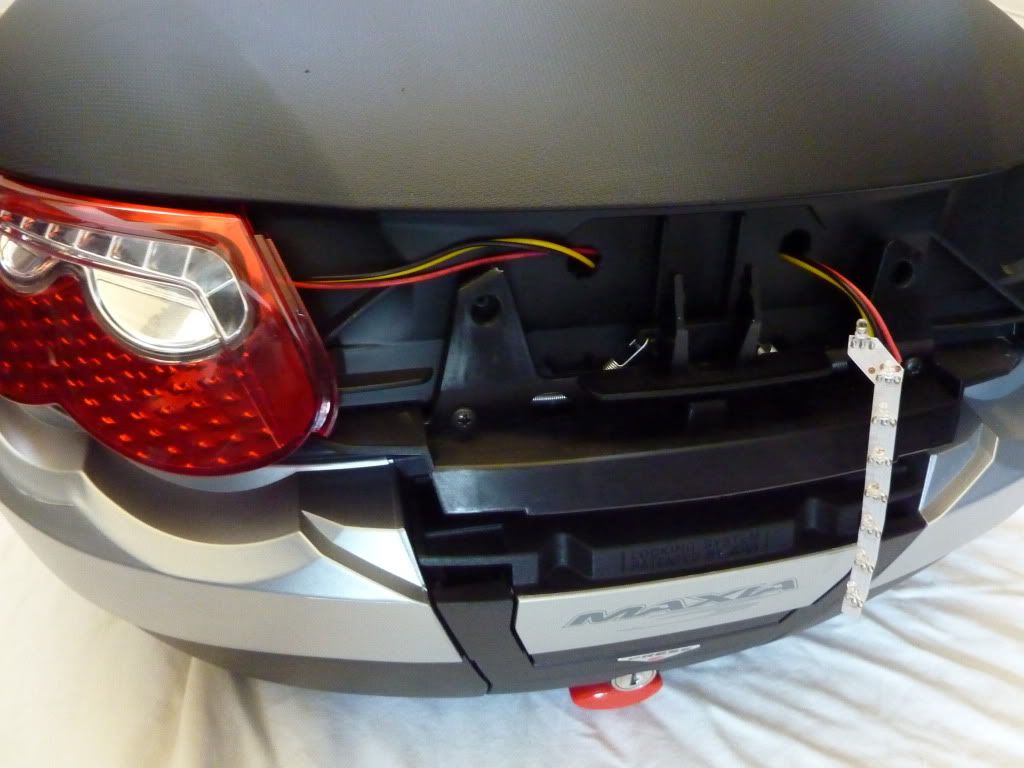
17. Admore LED light kit installed in both lenses. Also, Admore does not mention using grommets or something in the holes punched out for the lenses, which protects wires from rubbing or fraying, etc. I chose to use silicone for two reasons; 1) to keep in wires from being pulled 2) movement causing damage over time.
A GOTCHA to keep in mind – make sure you correctly plug the right LED to the right side of the harness and left to left. Mine were mislabeled.
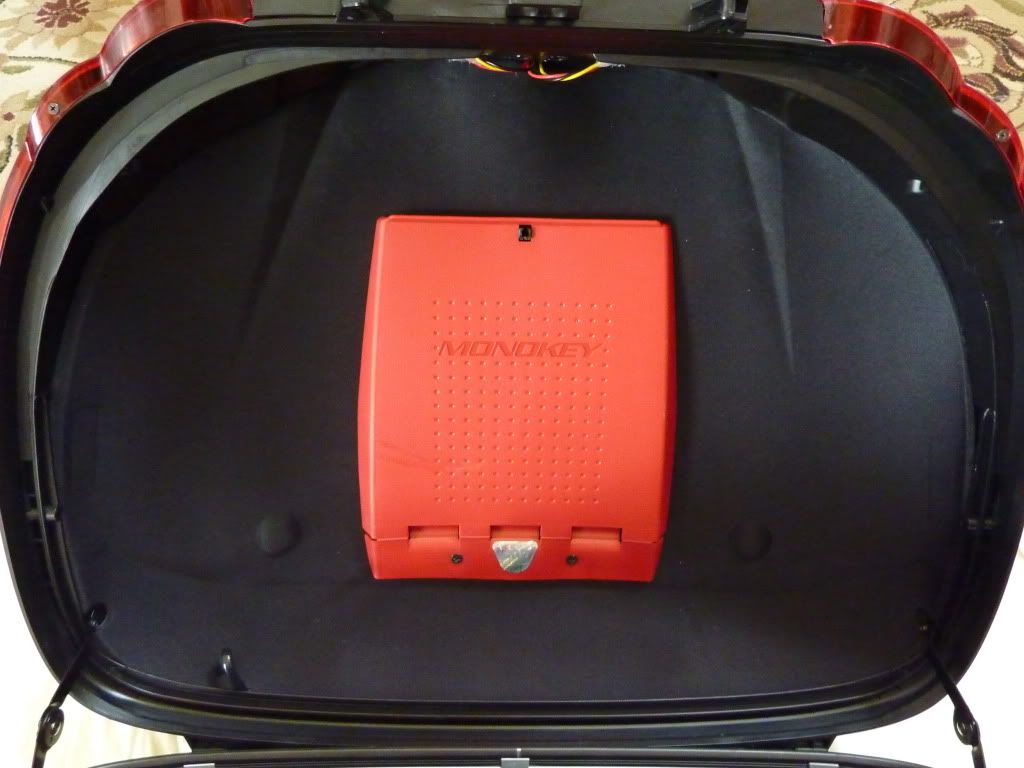
18. Liner and document holder back in place.
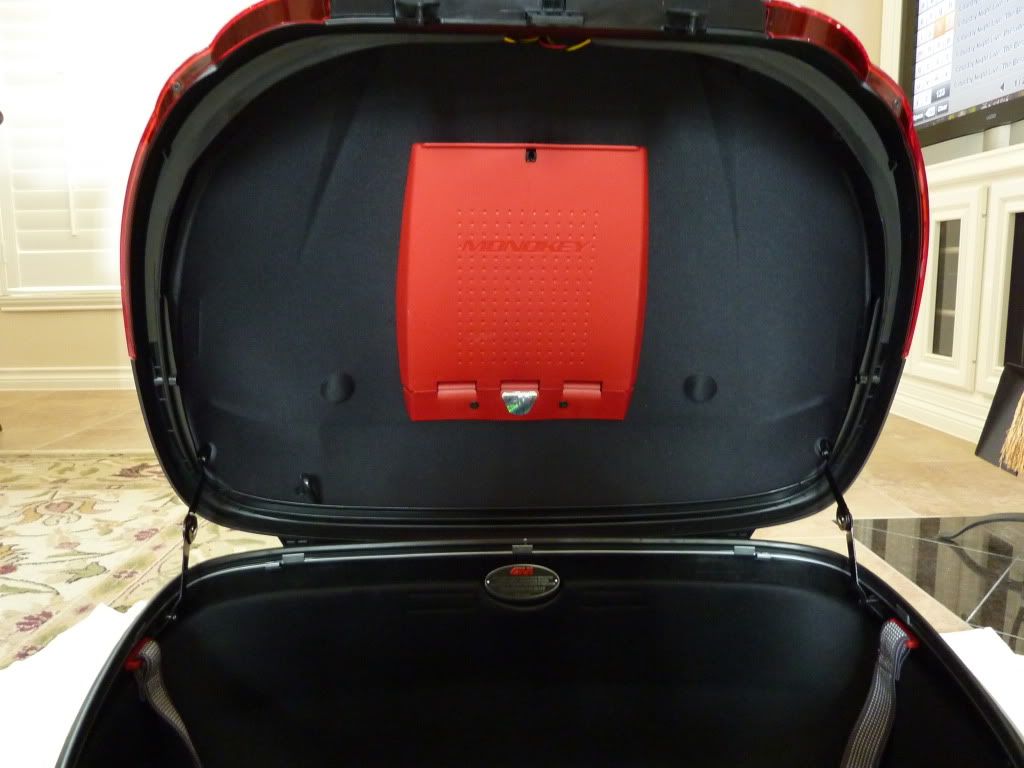
19. Finished inside view of top lid of top case. I’ll probably use some black duct tape to hide the silicone and wires. I thought about using some shrink tubing but didn’t want to chance burning something in the process especially that close to various plastics.
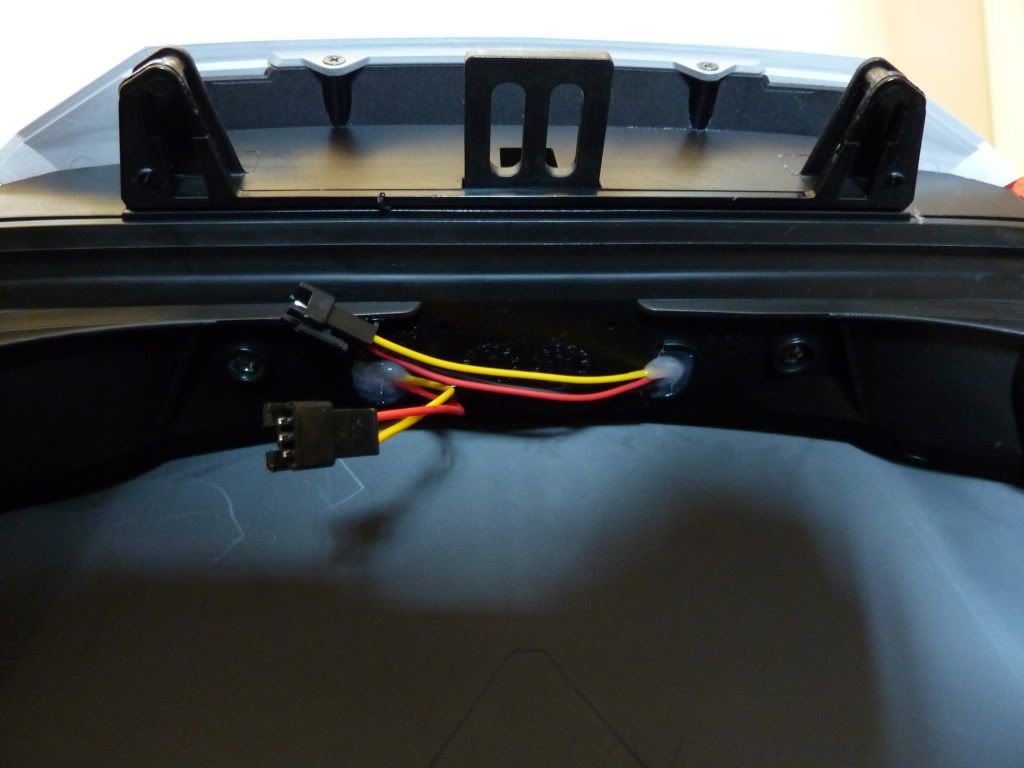
20. Another inside top lid view.
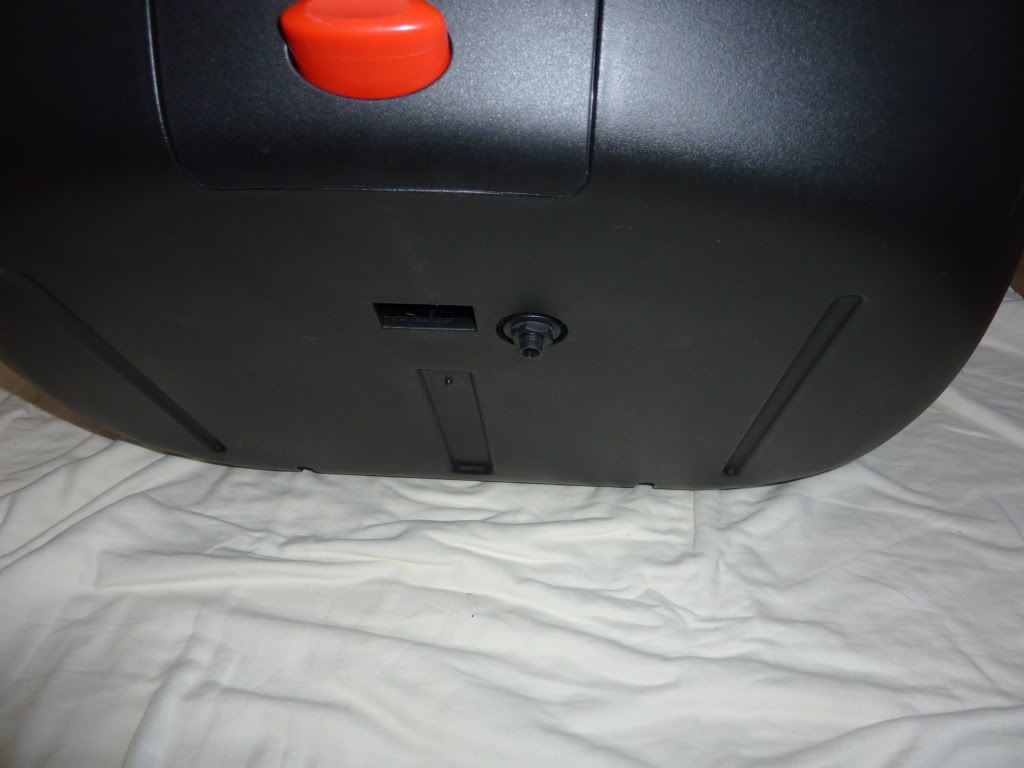
21. A view of the exterior of the top case with the rubber washer and nut installed.
22. Top case mounted on the NT with the harness attached.
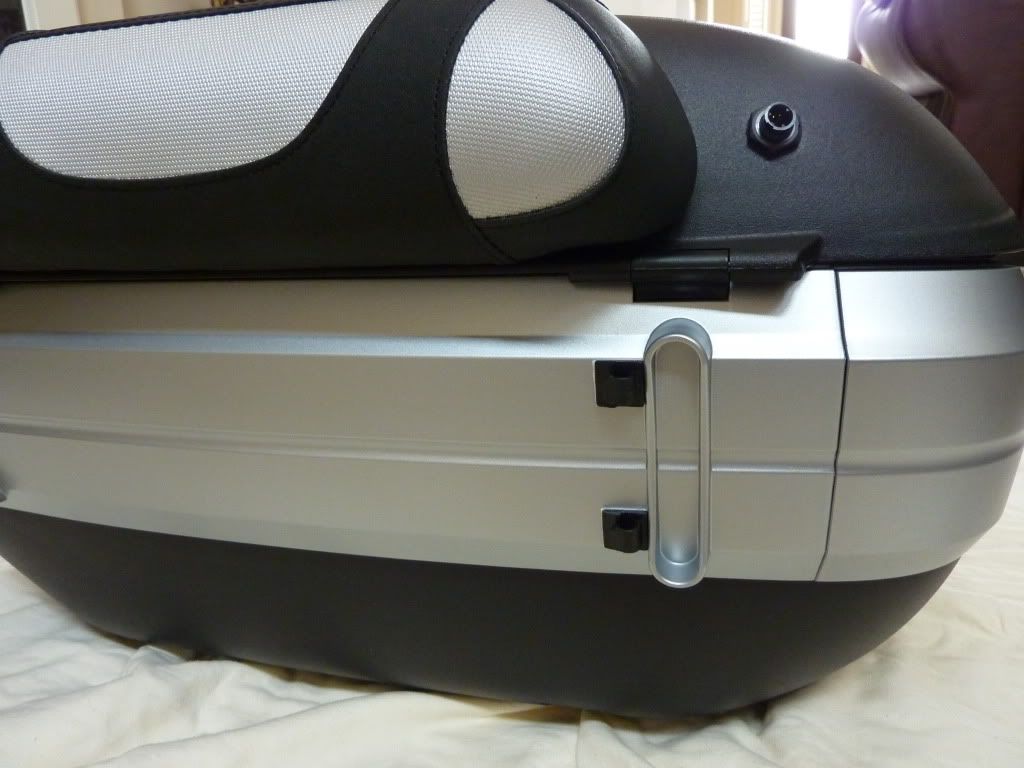
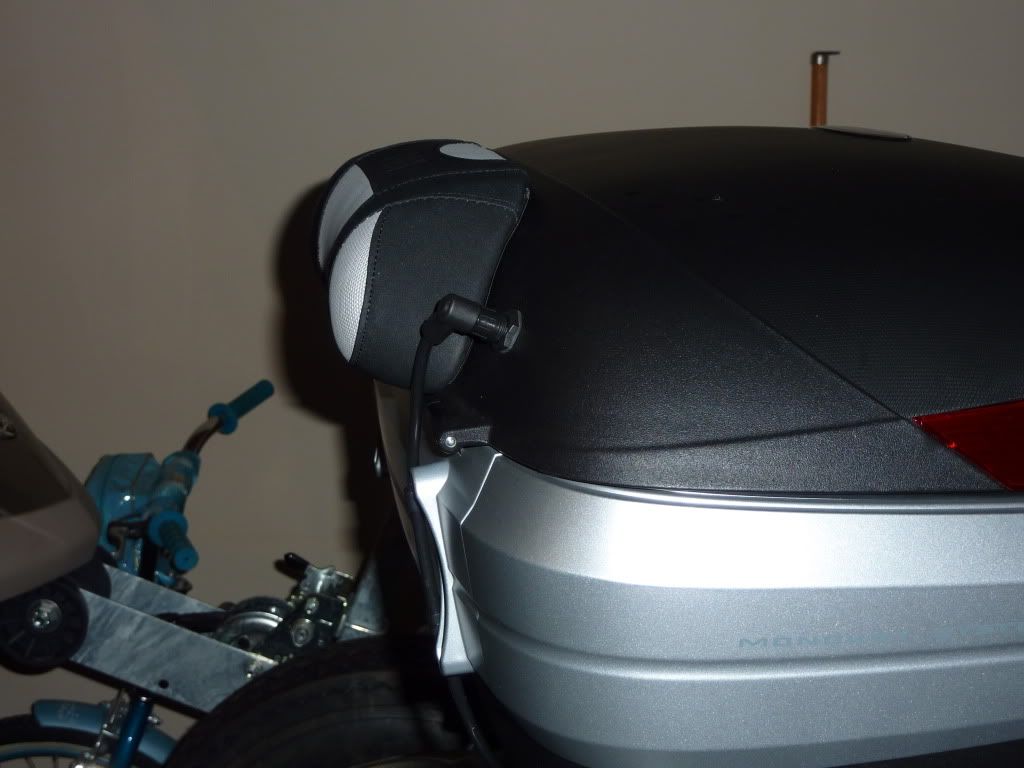
23. A view of the harness connected to the top case from the side.
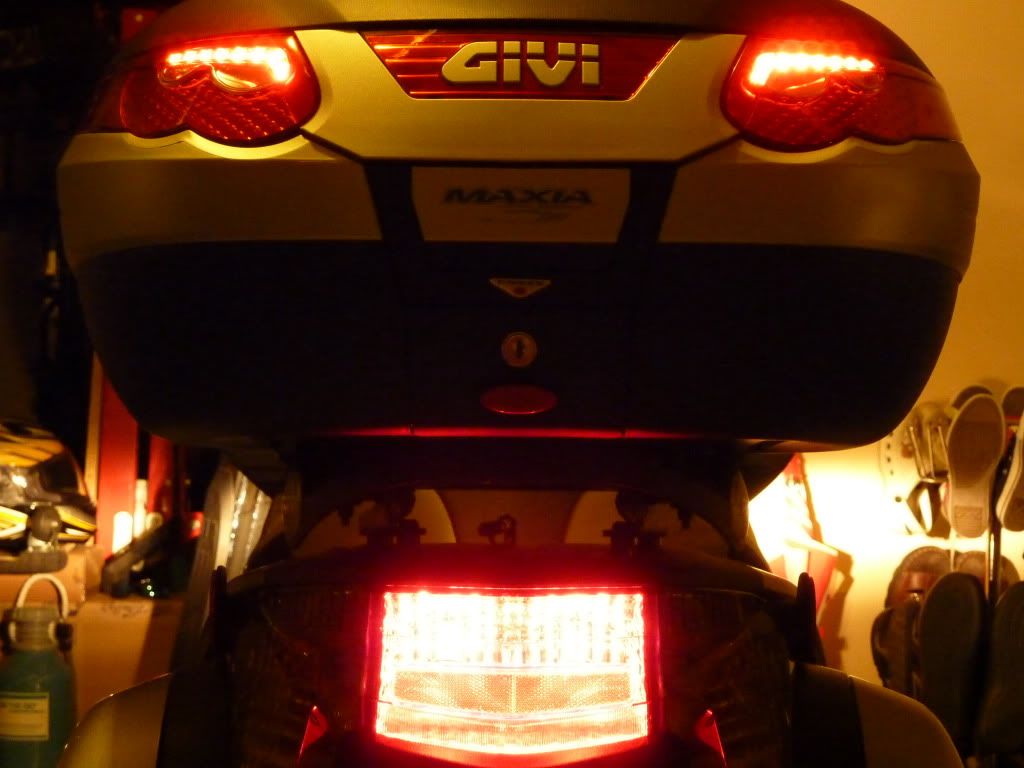
24. Top case with lights on.
Please let me know if you have questions.
Please note: if you have slow internet, this may take a while to load.
This is for informational purposes and to help with any ambiguity with this kit and for those contemplating on installing this kit.
Documents attached for this installation include:
Admores original installation manual
A table of Admore to NT wire colors** I created for this installation (**The wire colors on the NT seem to vary by possibly build dates so keep that in mind. Your best bet is to use a test light).
You tube video of light funtion:
[video=youtube;F75iXet_4WA]http://www.youtube.com/watch?v=F75iXet_4WA[/video]
1. Picture of the Admore LED light kit – ADML-0210-LED55-T-TS – for the Givi e55 top case
2. This is the NT tail light area behind the seat
3. NT tail light area specifically the right turn signal area
4. NT tail light area specifically the left turn signal area
5. Posi-taps installed to the appropriate NT wiring
6. Close-up of posi-taps connected to NT tail/turn wiring
7. LED function check
8. Admore LED harness attached to bike and posi-taps
9. Admore LED harness attached to bike and posi-taps close-up
10. Admore suggested the best location to drill the case for bike connection is here. I chose to go with this location since the Admore connector from the inside of the case sticks out (above the surface by at least an inch and half and didn’t want it to get in the way of luggage, helmets, etc. These situations can shorten the life of the connector if in the way. Also, it lends itself to a cleaner install from the inside of the case. Also, on the exterior of the case for the outside connector, I didn’t want it to poke a passenger in the back as it sticks up about an inch.
11. Keep in mind, I also have the Givi top case liner for the bottom and top. Therefore, it sort of limits wire runs but also keeps everything clean.
12. I used a pilot hole drill (1/8” drill) and then drilled the 7/16” hole with the Admore supplied drill bit.
13. The document holder will need to be removed with or w/o the liner for this install.
14. Top case light lenses removed.
15. Holes punched (using a smaller drill bit) and then drilled out with supplied 7/16” bit.
16. Admore LED light kit installed in the left lens
17. Admore LED light kit installed in both lenses. Also, Admore does not mention using grommets or something in the holes punched out for the lenses, which protects wires from rubbing or fraying, etc. I chose to use silicone for two reasons; 1) to keep in wires from being pulled 2) movement causing damage over time.
A GOTCHA to keep in mind – make sure you correctly plug the right LED to the right side of the harness and left to left. Mine were mislabeled.
18. Liner and document holder back in place.
19. Finished inside view of top lid of top case. I’ll probably use some black duct tape to hide the silicone and wires. I thought about using some shrink tubing but didn’t want to chance burning something in the process especially that close to various plastics.
20. Another inside top lid view.
21. A view of the exterior of the top case with the rubber washer and nut installed.
22. Top case mounted on the NT with the harness attached.
23. A view of the harness connected to the top case from the side.
24. Top case with lights on.
Please let me know if you have questions.
Last edited by a moderator: